 how-to
How Do You Maintain Emergency Gear Every Year?
Last Updated: November 1, 2026
Quick Summary
Maintain emergency gear with a 20-30 minute quick check every six months and a full annual deep clean that takes 1-2 hours. Empty the kit, inspect and test every item, replace what failed, and write the review date on a card inside.
- Set calendar reminders for spring and fall, ideally when you change smoke detector batteries.
- Discard any can that is bulging, dented on the seam, or leaking.
- Leave each flashlight on for at least five minutes, not seconds, to test it.
- Check your vehicle kit twice a year and swap clothing with the seasons.
- Use first in, first out rotation and cook from the kit monthly to cut waste.
Table of Contents
- Why an Annual Emergency Gear Review Matters
- Your Emergency Preparedness Kit Checklist for the Year
- How to Read Emergency Kit Expiration Dates
- How to Store Emergency Supplies So They Last
- Testing Equipment Beyond Flashlights and Batteries
- Your Vehicle Emergency Kit Checklist
- Building a Rotation System That Cuts Waste
- Stocking Replacement Supplies at Survive Nation
- Frequently Asked Questions
Why an Annual Emergency Gear Review Matters
Emergency gear maintenance is the practice of inspecting, testing, and replacing the supplies in your preparedness kit on a set schedule so the kit works when you need it.
An annual review fixes that. One focused session each year, plus a quick check at the six-month mark, keeps your emergency preparedness kit checklist honest. For a broader guide to what belongs in a kit before you audit it, see Essential Gear for Disaster Preparedness Kits.
Ready.gov emergency supply kit guidance
Your Emergency Preparedness Kit Checklist for the Year
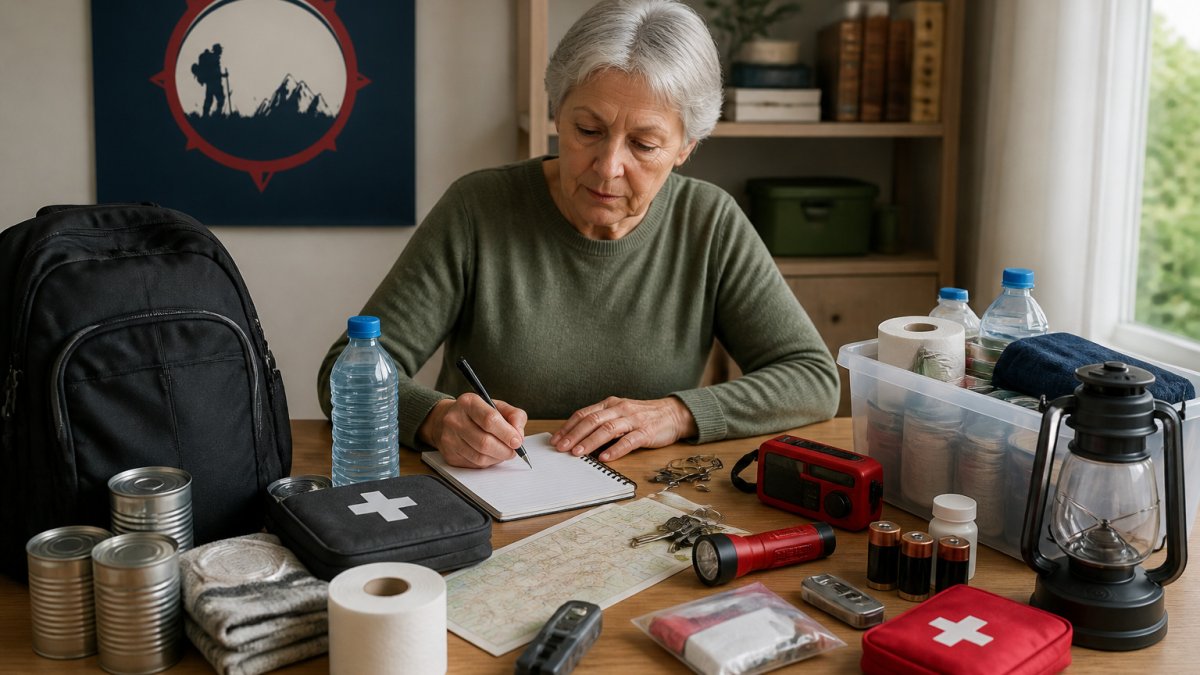
The full annual review takes about two hours for a typical household kit. Split it into two passes: a fast six-month check and a deeper annual clean.
| Check | When | Time Needed | What You Do |
|---|---|---|---|
| Six-month quick check | Every 6 months | 20-30 minutes | Scan dates, test lights, swap water |
| Full annual deep clean | Once a year | 1-2 hours | Empty, inspect, test, replace, restock |
| Vehicle kit check | Twice a year | 15 minutes | Seasonal clothing swap, battery test |
The Six-Month Quick Check
Set a calendar reminder for the same two months every year, ideally spring and fall when you change smoke detector batteries. The quick check covers the basics:
- Open the kit and look for leaks, rust, or pest damage
- Check expiration dates on food, water, and medications
- Click every flashlight on and off
This pass catches most problems before they become failures. It takes less time than a coffee break.
The Full Annual Deep Clean
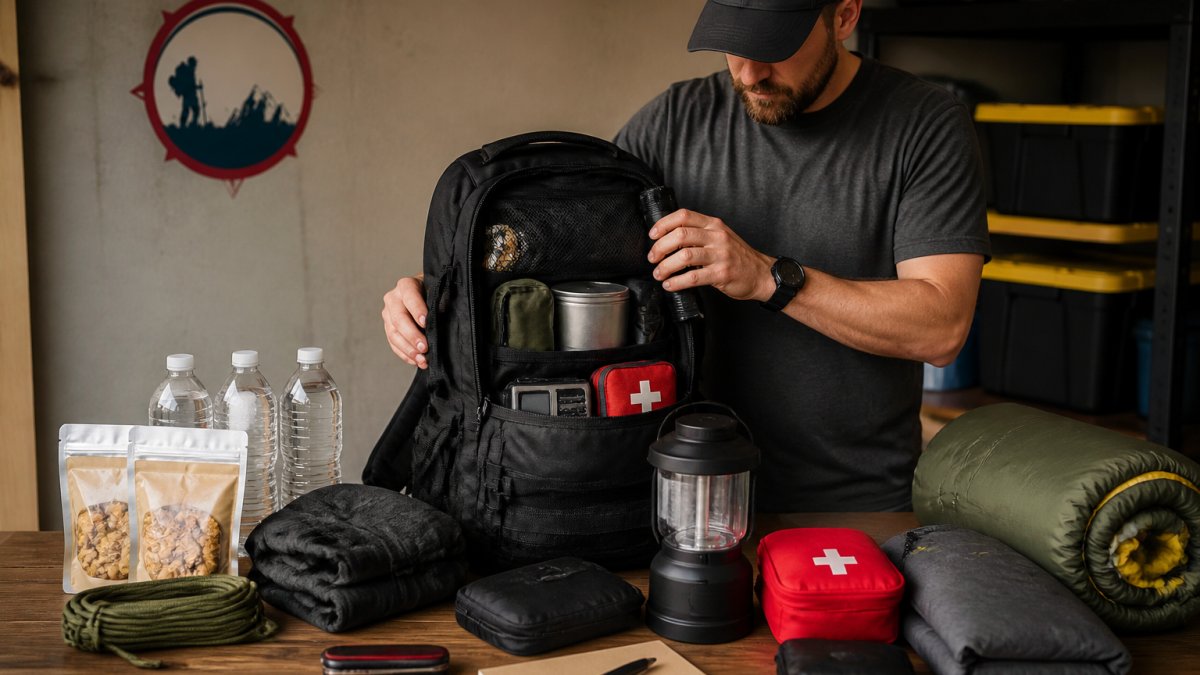
Once a year, empty the entire kit onto a clean floor. Wipe down the container, then inspect every item in daylight.
Work through these steps:
- Sort items into keep, test, and replace piles
- Check original packaging for tears or water damage
- Test every piece of equipment, not just the obvious ones
- Note what you used or borrowed during the year
- Restock gaps before you close the lid
- Write the review date on a card inside the kit
A common mistake is skipping the empty-out step. Supplies buried at the bottom are exactly the ones that fail silently.
How to Read Emergency Kit Expiration Dates
Expiration dates on emergency supplies are not all the same, and reading them correctly prevents both waste and risk. Some dates are true safety limits; others are quality guides. The categories most people get wrong are medications and first-aid supplies, so treat those with extra care.
Here is how to treat each category:
Food, Water, and Medications
- Canned food: Most cans hold quality for 2-5 years. Discard any can that is bulging, dented on the seam, or leaking.
- Boxed food: Shorter shelf life than cans. Rotate these first.
- Bottled water: Replace stored water on the date printed on the bottle, and sooner if it tastes off.
Watch out: never taste-test food from a bulging can to "see if it's fine." One spoiled item can take down the whole kit's usefulness.
Safe Inspection and Replacement of Medications and First-Aid Supplies
Medications and first-aid supplies deserve their own pass because they are the items most likely to fail silently and the ones people are least sure how to check. Work through this sequence once a year:
- Pull every medication and first-aid item out of the kit and lay them on a clean surface in good light. Do not inspect them inside the bag, where labels and seals are hard to read.
- Read the expiration date on the original container, not on a transfer bag or pill organizer. If you cannot find a date, treat the item as expired and replace it.
- Check the physical condition. Discard any tablet or capsule that is discolored, crumbly, stuck together, or smells unusual. Discard liquids that are cloudy, have particles, or have changed color. For ointments and creams, discard any that have separated or dried out.
- Inspect first-aid packaging for integrity. Replace any bandage, gauze, or dressing whose wrapper is torn, damp, or discolored. Sterility cannot be assumed once the seal is broken.
- Check storage conditions. Medications and first-aid supplies belong in a cool, dry place away from heat and humidity. A bathroom cabinet is a poor choice because of shower steam; a garage or shed is worse because of temperature swings. If your kit lives in a hot space, shorten the review interval to every six months.
- Replace prescription medications through your normal pharmacy channel rather than stockpiling. Ask your prescriber or pharmacist about an emergency supply and follow their guidance on quantity and rotation.
- Dispose of expired medications safely. Use a community drug take-back location or a pharmacy mail-back program when one is available. If neither is available, follow the FDA guidance on disposal for the specific medication rather than flushing it unless the label directs you to.
A simple rule of thumb: if you would not feel confident handing the item to a family member in the dark during a power outage, replace it now.
How to Store Emergency Supplies So They Last
Storage conditions decide how long your emergency supplies actually last. Heat, moisture, and light are the three enemies, and all three are easy to control.
Follow these rules:
- Keep the kit in a cool, dry place, away from garage heat and basement damp
- Store supplies in a waterproof container with a tight lid
- Keep the kit out of direct sunlight
Temperature swings shorten shelf life on food, batteries, and medications alike.
Testing Equipment Beyond Flashlights and Batteries
Testing equipment means running every powered and mechanical item through a real check, not just clicking a switch. A flashlight that turns on for a second may still fail under load.
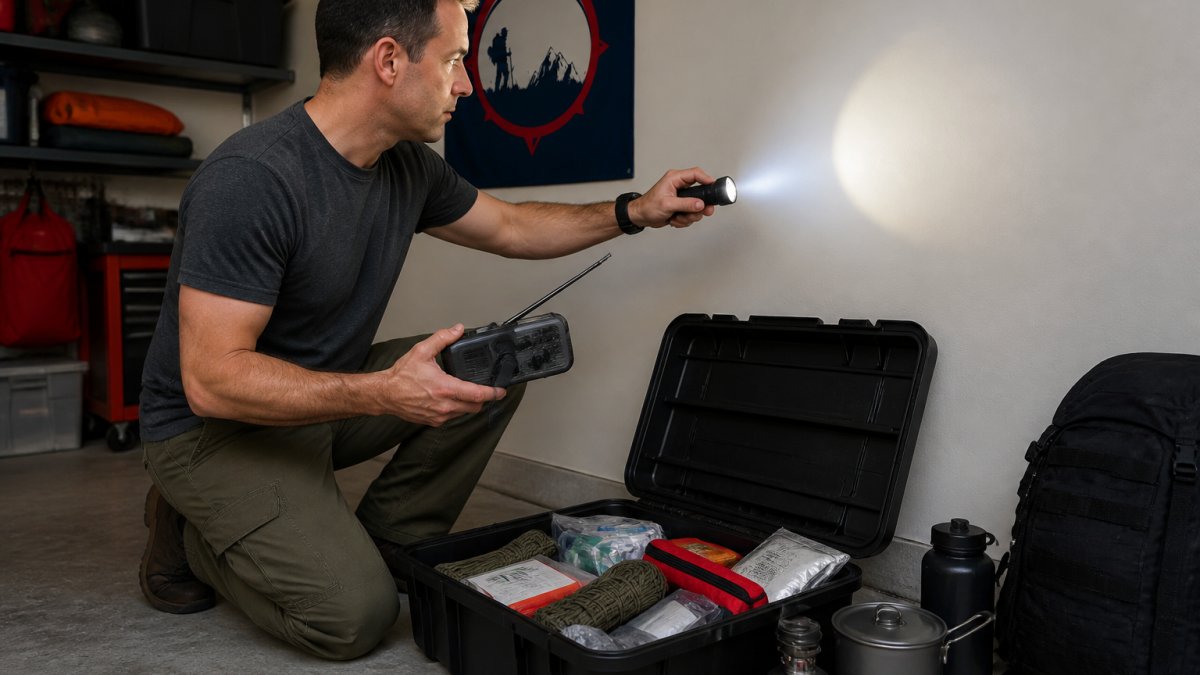
Run these tests once a year, and record the result for each item on a card inside the kit:
- Flashlights and lanterns: Leave each one on for at least five minutes, not seconds. A light that dims or flickers under a sustained run needs new batteries or replacement. Check the lens and reflector for cracks.
- Hand-crank radio: Crank it for a full minute and confirm it picks up a station. Test the weather-band channel if the radio has one. If the crank feels loose or the radio only works while cranking, the internal battery is failing.
- Power banks: Charge to full, then check they hold the charge. A practical test is to charge a phone from the bank and confirm the bank's indicator still shows capacity afterward. A bank that drains overnight is no longer reliable.
What to Do When a Test Fails
A failed test is useful information, not a setback. Handle it the same way every time:
- Tag the item with a note or a piece of tape so it does not go back into the kit as if it passed.
- Decide replace or repair. Cables, batteries, and filter cartridges are replace-first items. A multi-tool or lantern may be worth cleaning and oiling before you replace it.
- Replace before the next season, not "sometime later." An item that failed in spring is likely to fail again in storm season.
- Log the failure on your kit card so next year's review starts with a known weak point.
If a charger or power bank fails the test, replace it before the next season. Browse Batteries, Chargers & Power Generators to find replacements.
Your Vehicle Emergency Kit Checklist
A vehicle emergency kit checklist looks different from your home kit, because the car faces heat, cold, and road conditions the house never sees. Check it twice a year and swap clothing with the seasons.
Your vehicle kit should include:
- Jumper cables or a jump starter
- A multi-functional car safety hammer with flashlight
- Blanket and seasonal clothing
- Non-perishable food and bottled water
Building a Rotation System That Cuts Waste
A rotation system means you eat, use, and replace supplies on a schedule instead of throwing out expired items. It saves money and keeps the kit stocked with food your household actually likes.
Here is the system we recommend:
- First in, first out: Put new supplies at the back, older ones at the front
- Cook from the kit: Once a month, use a canned or boxed item in a regular meal and replace it on the next shopping trip
- Date everything: Write the purchase month on each item with a marker
- Keep a running list: Note what you use so you restock the right things
- Donate or use before expiry: Move near-date food into your pantry rotation
This turns maintenance into a habit instead of a chore. It also means your kit reflects what your household will actually eat under stress.
Stocking Replacement Supplies at Survive Nation
Restocking is the step most people put off, which is why the kit drifts out of date.
Survive Nation carries a curated selection of essentials, including sleeping bags, food storage, and outdoor lighting. Our goal is a fast, user-friendly shopping experience so restocking does not become another project.
Start with the items you flagged during the deep clean. Before buying replacements, read Budget Emergency Preparedness Gear: Build Your Kit Smart for budget-friendly guidance.
Frequently Asked Questions
How often should you inspect emergency gear?
Run a quick check every six months and a full annual review once a year. The six-month check covers expiration dates on food, water, and medications, plus a battery test on flashlights and radios. The annual review goes further: unpack every item, inspect for damage or corrosion, test equipment, wash and air out clothing and sleeping bags, and replace anything expired or worn. Put both dates in your phone calendar so the routine does not slip.
How do you know when emergency supplies have expired?
Check the printed date on every package during your emergency kit expiration dates review. Medications carry their own expiration dates, and first-aid supplies like antiseptic wipes and adhesive bandages lose adhesion over time. Write the earliest date from each category on a card taped inside the kit lid so the next check is faster.
How should you store emergency gear to prevent damage?
Keep the kit in a cool, dry place away from direct sunlight, such as a closet or basement shelf rather than a hot garage. Use waterproof containers or sealed bags for food, matches, and documents. Store batteries outside devices and in their original packaging to prevent corrosion. Rotate stored water away from chemicals and heavy items, and keep the whole kit on a shelf or in a bin that is easy to reach, not buried behind holiday decorations.
How often should you replace batteries in emergency equipment?
Replace standard alkaline batteries once a year during your annual review, even if a test shows they still work, because charge drops quietly over months. Test flashlights and radios at the six-month mark with a quick on-switch check. If you use rechargeable batteries, top them up at each check. Store spare batteries in their original packaging, and note the replacement month on a sticker on the device so you never guess.
Your kit is only as good as its weakest item, and the annual review is how you find that item before an emergency does. Survive Nation makes restocking simple with reliable outdoor and emergency gear, a customer-service team that answers questions, and a fast online shopping experience built for people who would rather prepare than scramble. Get started with Survive Nation and keep your kit ready for whatever the year brings.