 blog
blog
Budget Emergency Preparedness Gear: Build Your Kit Smart
Table of Contents
- Why Budget Emergency Preparedness Gear Doesn't Mean Cutting Corners
- Essential Items for a Basic Emergency Kit
- Building Your 72-Hour Emergency Kit Checklist
- How to Build a Disaster Supply Kit on a Real Budget
- Water, Food, and First Aid: Where Your Money Goes
- DIY vs. Pre-Packaged Kits: The Real Cost Difference
- Storage Solutions for Small Spaces
- Frequently Asked Questions
Last Updated: October 2, 2026
Why Budget Emergency Preparedness Gear Doesn't Mean Cutting Corners
Building an emergency kit doesn't require emptying your wallet. The real challenge is knowing which items actually matter and where smart shopping makes a difference versus where it creates risk.
Budget emergency preparedness gear doesn't mean settling for low-quality items. The distinction is between purposeful and wasteful purchasing. A $15 flashlight from a reliable source often outperforms a $50 impulse buy from a questionable manufacturer.
The goal of this guide is to show you exactly how to build a 72-hour emergency kit checklist without overspending on items you don't need. You'll learn which categories deserve investment, where you can cut costs without cutting safety, and how to organize everything for quick access when seconds count.
Essential Items for a Basic Emergency Kit
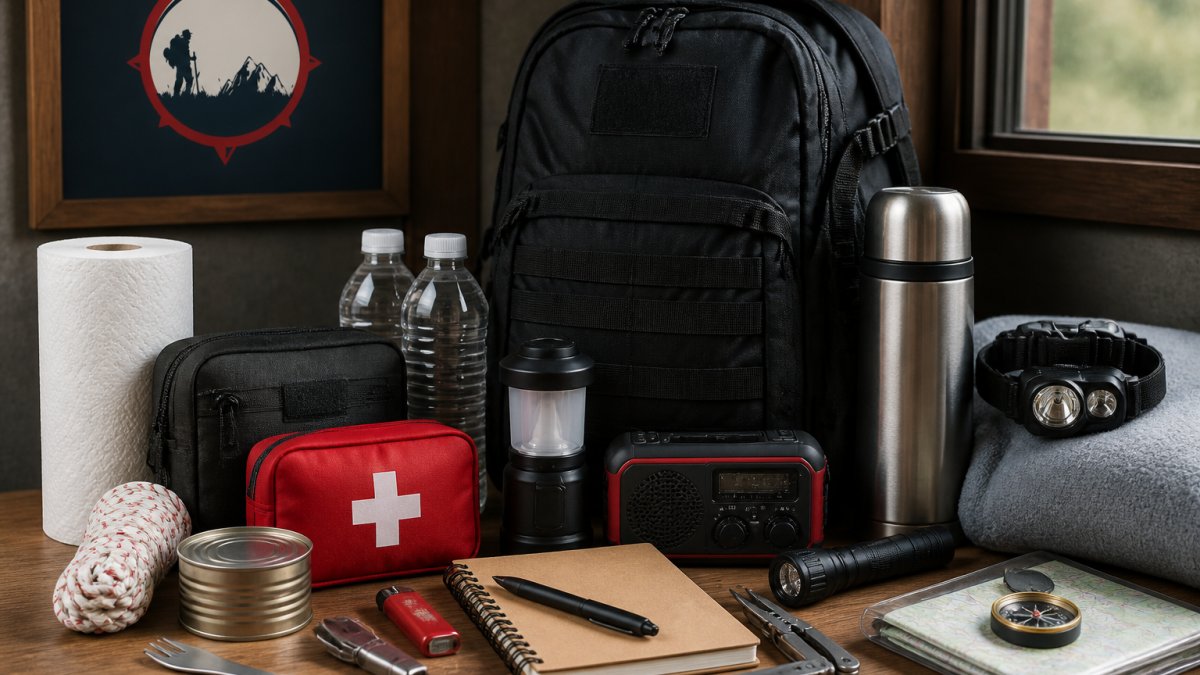
Your foundation starts with five categories that appear in every serious emergency kit: water, food, first aid, light, and communication.
Water storage is non-negotiable: one gallon per person per day. For a three-person household, that's nine gallons minimum. Buying individual bottles costs more than purchasing larger containers upfront. Add water purification tablets as backup, they cost under $10 and take almost no space.
Food should be shelf-stable and require no cooking. Canned goods work, but they're heavy and take up significant space. Energy bars, peanut butter, nuts, and dried fruit deliver more calories per ounce. Check expiration dates and rotate stock annually to avoid waste.
A basic first aid kit covers cuts, burns, and minor injuries. Building your own from bulk supplies costs half as much as pre-packaged kits and gives you exactly what your household needs.
Lighting matters more than most people realize. A hand-crank flashlight eliminates battery dependency; battery-powered options are lighter but require spare batteries stored separately.
Communication and weather awareness depend on a NOAA weather radio. Battery-powered or hand-crank models alert you to severe weather and emergency broadcasts. This single item has prevented countless injuries during storms and power outages.
Building Your 72-Hour Emergency Kit Checklist
A 72-hour kit sustains your household for three days without external help, covering most common emergencies while remaining manageable in size and cost.
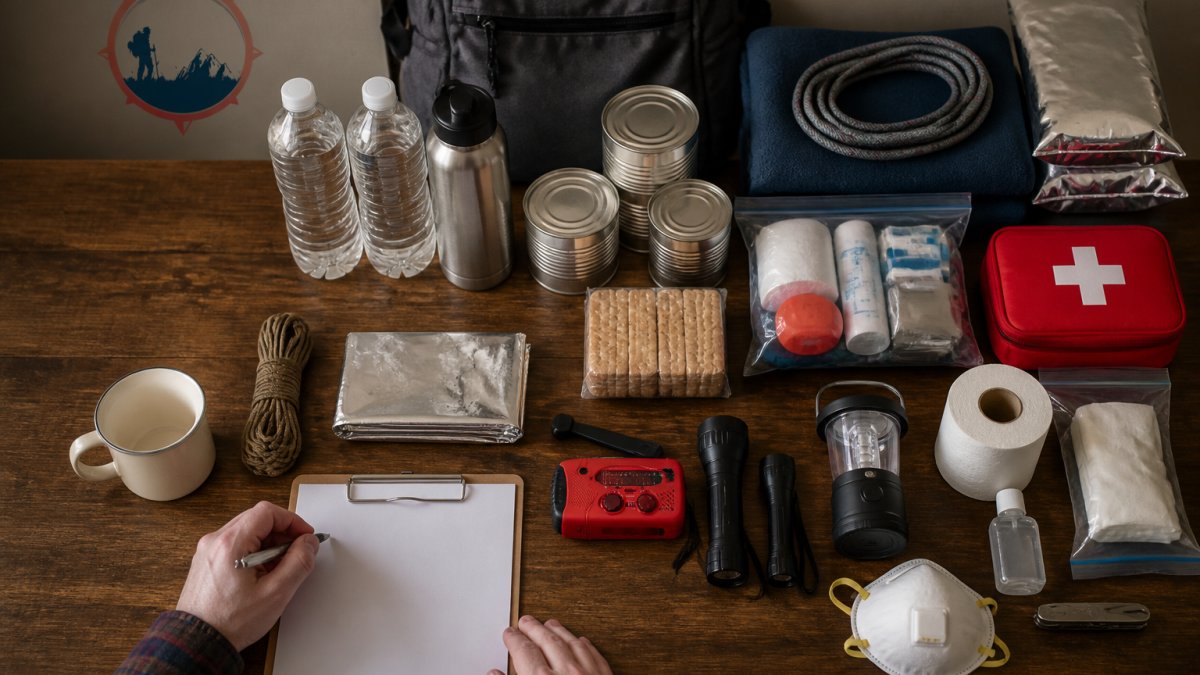
Start with a sturdy plastic bin ($10-20) labeled clearly and stored in an accessible location, not an attic or basement where you can't reach it quickly.
Water storage should be the heaviest item in your kit. Filling food-grade containers yourself costs less than pre-filled bottles and gives you control over rotation. Add water purification tablets or a portable filter as backup.
Non-perishable food items should total at least 2,000 calories per person per day. Include a manual can opener for canned goods and pet food if you have animals.
A first aid kit should include bandages, antiseptic, pain relievers, antacids, anti-diarrhea medication, antihistamines, and prescription medications in original labeled containers.
Include a flashlight with extra batteries, a hand-crank radio, and a whistle (under $5, signals rescuers effectively). Add a utility knife, duct tape, and work gloves for unexpected problems.
Include personal protective equipment (dust masks, latex gloves), a change of clothes, and sturdy shoes for each household member.
Store copies of insurance policies, property deeds, medical records, and bank account information in a waterproof container. Keep emergency contacts separate from your phone.
How to Build a Disaster Supply Kit on a Real Budget
The difference between a $200 kit and a $500 kit isn't quality, it's redundancy and convenience. You can build an effective disaster supply kit without choosing between safety and affordability.
List what your household actually needs. A family of four has different requirements than a single person or household with elderly members or infants. Tailor your kit to your specific situation rather than buying generic pre-packaged options.
Buy items gradually throughout the year. Stock up on batteries and canned goods when on sale. This spread approach prevents sticker shock and lets you test items before committing to larger quantities.
Check what you already own. Consolidate flashlights, batteries, first aid supplies, and tools into your emergency kit rather than buying duplicates.
Avoid expensive branded survival gear. A basic multi-tool from a hardware store costs $15 and works as well as a "survival" version priced at $50, the difference is packaging and marketing, not function.
Store-brand items perform identically to name brands. Generic pain relievers, antacids, and first aid supplies cost significantly less with identical active ingredients.
Water, Food, and First Aid: Where Your Money Goes
These three categories account for 70% of most emergency kit budgets. A tiered approach lets you build incrementally, starting with essentials and adding redundancy as budget allows.
Tier 1: Essential (Bare Minimum, ~$50-70 for four people)
Water: Five gallons in food-grade containers ($8-10). This meets the one-gallon-per-person-per-day minimum for drinking and basic sanitation. Add water purification tablets ($8-12) as backup in case stored water becomes contaminated or runs out.
Food: 2,000 calories per person per day using the cheapest shelf-stable options. Buy canned vegetables, canned beans, canned tuna, and peanut butter from discount retailers. A case of canned goods (12 cans) costs $8-12 and provides roughly 1,200-1,500 calories. Add a jar of peanut butter ($2-3) for 1,500+ calories and protein. Total food cost: $25-35 for three days.
First Aid: A basic DIY kit with bandages, antiseptic wipes, pain relievers, antacids, anti-diarrhea medication, and antihistamines. Buy generic versions from a discount pharmacy. Total: $15-20.
Tier 2: Practical (Standard Preparedness, ~$110-160 for four people)
This tier adds redundancy, convenience, and items that prevent small problems from becoming emergencies.
Water: Increase to 12 gallons (three gallons per person for three days). Use a mix of food-grade containers and a few pre-filled bottles for quick access. Add a portable water filter ($15-25) in addition to purification tablets. Total: $25-35.
Food: Replace some canned goods with energy bars, nuts, and dried fruit. These are lighter, require no cooking, and provide higher calorie density. A case of energy bars (24 bars) costs $15-20 and provides 4,800-9,600 calories depending on bar size. Mix in nuts ($8-12 for a multi-pack), dried fruit ($5-8), and peanut butter. Include a manual can opener if storing canned goods. Total: $40-55.
First aid: Expand the basic kit to include tweezers, antibiotic ointment, elastic bandages, pain relievers in multiple strengths, antacids, anti-diarrhea medication, antihistamines, and any household-specific medications. Store a two-week supply of daily prescriptions. Total: $25-35.
Lighting and communication: Add a hand-crank flashlight ($12-18), extra batteries ($5-8), a NOAA weather radio ($20-30), and a whistle ($2-5).
Tier 3: Comprehensive (Advanced Preparedness, ~$180-250 for four people)
This tier adds comfort items, extended redundancy, and specialized gear for specific risks.
Water: Increase to 15+ gallons. Add a larger water filter system ($30-50) that can process contaminated water from alternative sources. Include electrolyte packets ($5-10) to prevent dehydration-related issues during stress or physical exertion.
Food: Diversify beyond canned goods and energy bars. Add freeze-dried meals ($3-5 per serving), which rehydrate with hot water and provide psychological comfort during stress. Include comfort foods: chocolate, coffee, tea, hard candy. A varied diet prevents "emergency fatigue" and maintains morale. Total: $60-80.
First aid: Include prescription-strength pain relievers, antibiotic ointment in larger quantities, elastic bandages, tweezers, thermometer, blood pressure cuff if anyone in the household has hypertension, and a more comprehensive medication list.
Cost-Saving Strategies Within Each Tier
DIY vs. Pre-Packaged Kits: The Real Cost Difference
Pre-packaged emergency kits range from $50 to $300 but often include redundant items and exclude specifics your household needs. The real question is which delivers better value for your actual situation.
DIY Kit Cost Breakdown (Household of Four, 72-Hour Supply)
- Water storage: 12 gallons in food-grade containers ($15-20)
- Non-perishable food: Energy bars, nuts, peanut butter, dried fruit ($25-35)
- First aid supplies: Bandages, antiseptic, pain relievers, antihistamines ($18-25)
- Lighting: Hand-crank flashlight + 4 AA batteries ($12-18)
- NOAA weather radio: Hand-crank model ($20-30)
- Communication and tools: Whistle, utility knife, duct tape, work gloves ($10-15)
- Personal protective equipment: Dust masks, latex gloves ($5-8)
- Documents and miscellaneous: Waterproof container, copies of records ($8-12)
Why Pre-Packaged Kits Cost More
A $150 pre-packaged kit for four people typically includes:
- Smaller water quantities (often 1-2 gallons instead of 12)
- Pre-made food bars with lower calorie density and higher per-ounce cost
- Generic first aid items you may never use (tweezers, antibiotic ointment in single-use packets)
- Lower-quality flashlight with batteries that drain faster
- Cheaper components chosen to hit a price point rather than performance threshold
The Hidden Cost of Customization
- Someone with a nut allergy: The energy bars in the kit may be unusable
- A diabetic: Standard food bars have high sugar content
- Someone on daily medications: The kit won't include your prescription supply
- A pet: No pet food is included
When Pre-Packaged Makes Sense
The Real Advantage of DIY
Storage Solutions for Small Spaces
Small apartments and condos require creative storage solutions that don't sacrifice accessibility.
Frequently Asked Questions
What are the most essential items for a basic emergency kit?
A basic emergency kit needs water (1 gallon per person per day for 3 days), non-perishable food, a first aid kit, flashlight, batteries, a hand-crank or battery-powered radio, medications, important documents, and a whistle. These core items address immediate survival needs: hydration, nutrition, injury treatment, communication, and signaling for help. Start with these, then expand based on your household's specific needs.
How can I build an emergency kit on a limited budget?
Buy multi-purpose items that serve several functions: a multi-tool replaces multiple tools, a hand-crank radio provides light and weather alerts, and duct tape handles repairs. Purchase shelf-stable food you already eat rather than specialized emergency rations. Shop sales at discount retailers and build your kit gradually over several months instead of all at once. Second-hand items like sleeping bags and tarps work fine for emergency shelter if inspected for damage.
What's the difference between a 72-hour kit and long-term storage?
A 72-hour kit contains grab-and-go essentials to survive the first three days of a disaster when help may not arrive. It includes water, food, first aid, and communication gear in a portable container. Long-term storage goes beyond this, with larger quantities of water, food, fuel, and supplies designed to sustain a household for weeks or months during extended emergencies like prolonged power outages or supply chain disruptions.
Are pre-made emergency kits worth the money?
Pre-packaged kits offer convenience but often cost more per item than buying components separately. They may include items you don't need or exclude items specific to your situation. Building your own kit lets you choose quality brands, customize for your family's needs (medications, dietary restrictions, pets), and spread costs over time. Inspect any pre-made kit carefully, many contain expired food or low-quality gear that won't perform when needed.