 how-to
Emergency Preparedness for Seniors Living Alone: A Step-by-Step Plan
Quick Summary
Emergency preparedness for seniors living alone means writing a plan with a contact tree, daily check-ins, and a missed-check-in rule so someone acts if you do not respond. Pair it with a kit covering at least three days, a week of medications, and two accessible exits with a ride arranged in advance.
- Write a contact tree with three people, each with two phone numbers.
- Set a daily check-in time and a grace period of 60 to 90 minutes.
- Store at least one gallon of water per person per day in your kit.
- Keep at least a week of medications on hand and ask about early refills.
- Map two exits, one stair-free, and confirm two destinations and a ride.
Table of Contents
- Why Seniors Living Alone Need a Separate Emergency Plan
- Step 1: Build Your Personal Emergency Plan
- Step 2: Create an Emergency Communication Plan for Seniors
- Step 3: Assemble an Emergency Kit for Older Adults
- Step 4: Plan an Evacuation Plan for Seniors with Mobility Issues
- Step 5: Set Up a Senior Emergency Contact List Template
- Booking Your Emergency Kit Setup with Survive Nation
- Frequently Asked Questions
Why Seniors Living Alone Need a Separate Emergency Plan
Seniors who live alone face a different kind of risk during a disaster. No one is in the next room to notice a fall, help move a heavy water jug, or check whether the power is still on.
Many older adults also rely on daily medications, medical devices, or mobility aids. A power outage or road closure can interrupt all three within hours. Here is what makes solo living different:
- No one else is home to spot a medical problem early
- Mobility limits can slow an evacuation by minutes that matter
- Medication refills may be hard to get during a storm or outage
This step-by-step plan is designed so you can prepare at your own pace. Each step builds on the one before it, so you can start today and finish with a plan you can actually use.
Step 1: Build Your Personal Emergency Plan
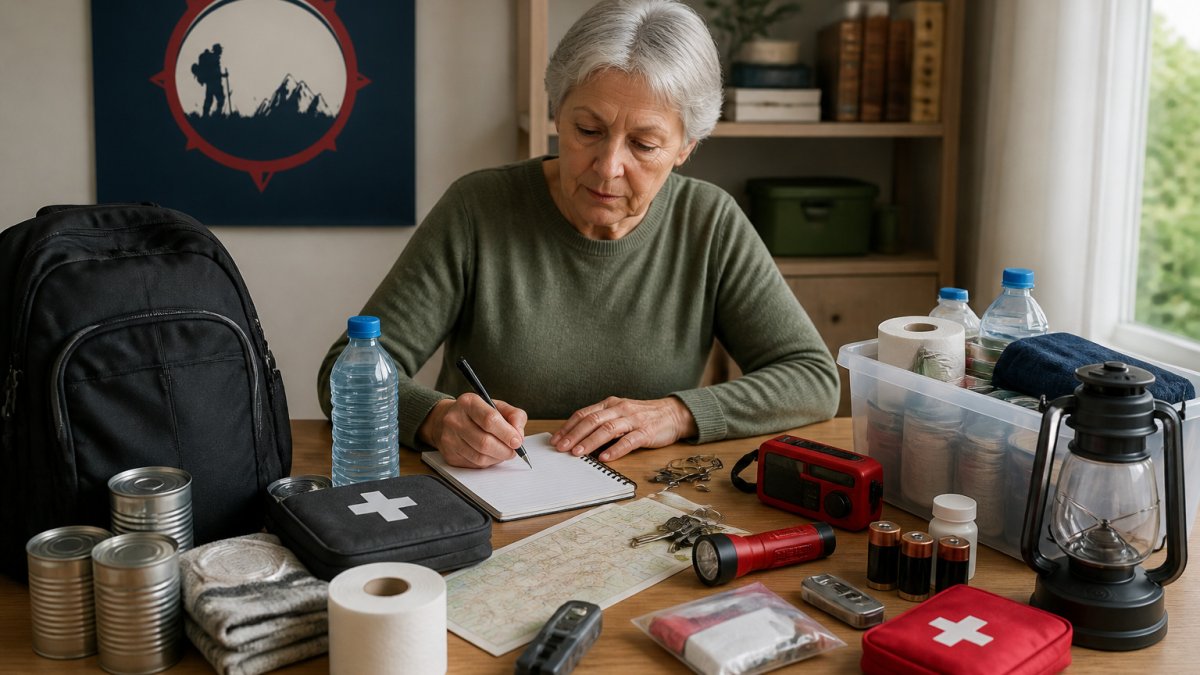
Your personal emergency plan is a written list of what you will do, who you will call, and where you will go. Start with the hazards most likely in your area, such as severe storms, wildfires, floods, or extended power outages.
Write down the answers to these questions:
- What disasters are most likely where I live?
- Will I shelter in place or evacuate?
- Where is the nearest safe location if I must leave?
Watch out: Many seniors keep a plan in their head and never write it down. During a stressful event, memory is unreliable. Keep a printed copy in your kit and another near your phone.
Step 2: Create an Emergency Communication Plan for Seniors
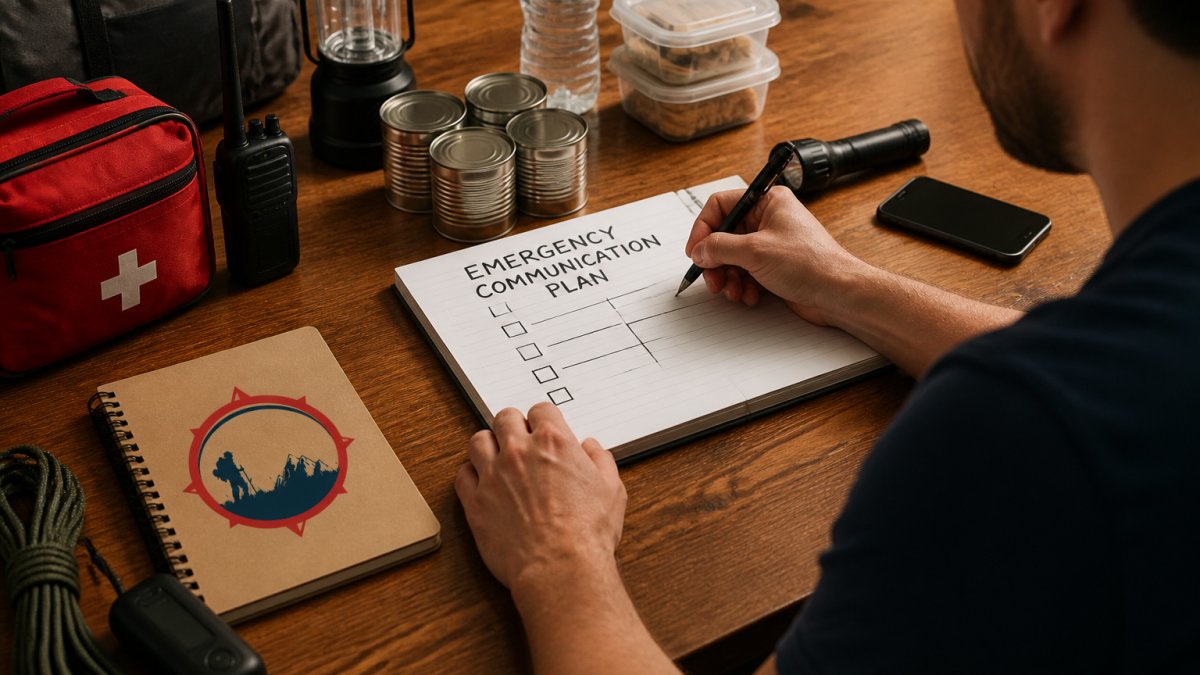
An emergency communication plan makes sure you can reach help and that help can reach you. Living alone means you need a backup if your phone or internet fails, and you need a written agreement about who will notice if you do not answer.
Build a primary-and-backup contact tree
A contact tree is a short list that tells helpers whom to call, in what order, if they cannot reach you. Keep it to three people so it is easy to follow under stress.
- Primary contact: the person who checks on you most often, such as a neighbor, adult child, or caregiver. This person calls or visits first.
- Backup contact: the person the primary contact calls if you do not respond within a set time.
- Third contact: a local friend or relative who can physically come to your home if the first two cannot.
Write each person's full name, relationship, two phone numbers, and whether they have a key to your home. Give a copy of the tree to each person on it so everyone knows the order.
Agree on check-in times and a missed-check-in rule
A check-in is only useful if everyone knows when it happens and what to do when it does not. A common pattern is:
- Daily check-in: a text, call, or brief visit at a set time, such as 9:00 a.m.
- Grace period: if you do not respond within 60 to 90 minutes, the primary contact calls again and then texts the backup contact.
- Escalation: if there is still no response after the grace period, the backup contact calls your phone and then comes to your door. If there is no answer at the door, the backup contact calls 911 and reports a welfare check.
Write these times and steps on the contact sheet and review them with everyone on the tree. Update the sheet whenever a phone number or living situation changes.
Set up two or more ways to call for help
- A charged cell phone with a backup power bank
- A landline if you have one, since it may work when cellular service is overloaded
- A medical alert device with a fall-detection feature if you are prone to falls
A battery-powered or hand-crank radio that receives emergency broadcasts and weather alerts is worth keeping on hand.
A portable power bank can help keep your phone working through a long outage.
Plan for communication failures
Cellular networks and internet service can fail during a disaster. Keep a written list of phone numbers near your phone and in your wallet, because you may not be able to look them up on a dead device. Tell your contacts that if they cannot reach you by phone, they should try a text message, then a landline, then a visit.
Step 3: Assemble an Emergency Kit for Older Adults
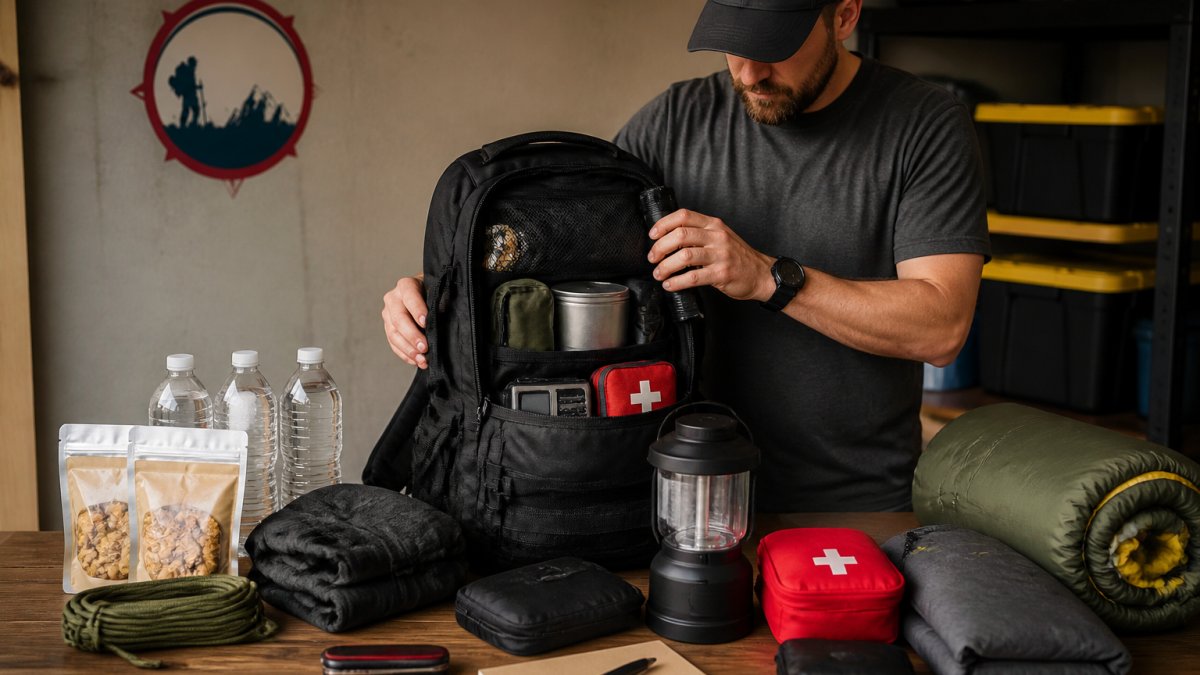
An emergency kit for older adults should cover at least three days, and many experts suggest two weeks if you can manage it. Pack items you will actually use, not just what looks impressive on a shelf.
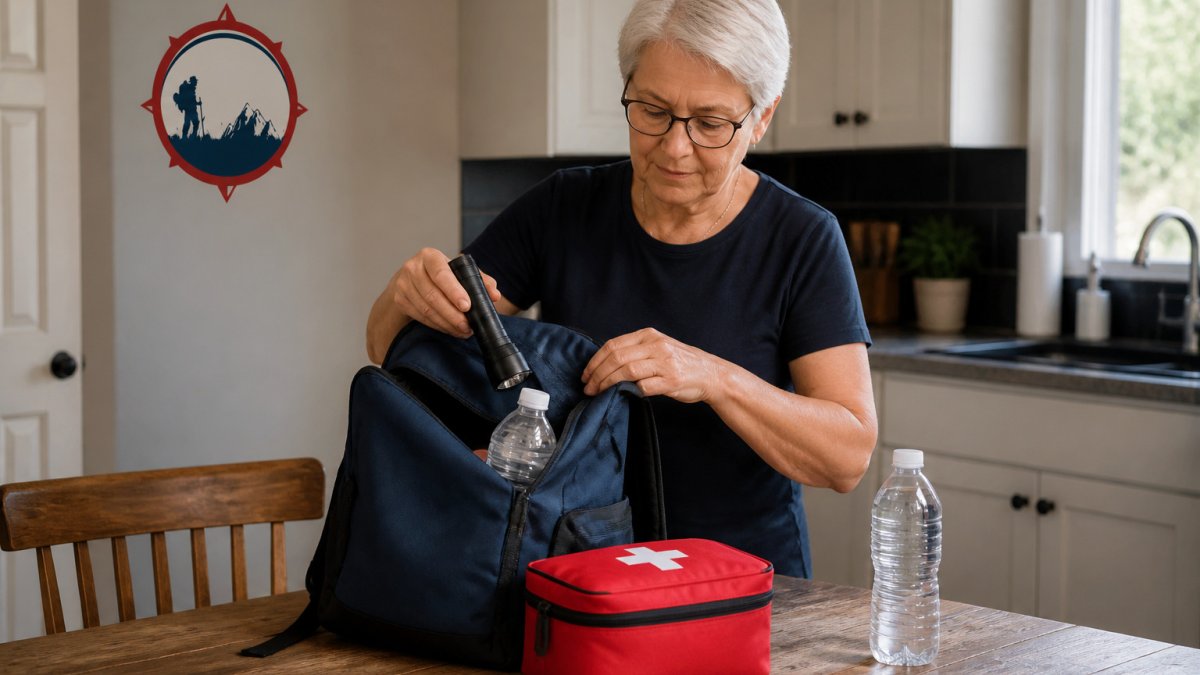
Core items to include:
- Water, at least one gallon per person per day
- Non-perishable food that needs no cooking
- A flashlight with extra batteries
A pre-packaged emergency kit can give you a useful starting point, and a dedicated first aid bag keeps medical supplies organized and easy to grab.
Store the kit where you can reach it without bending or climbing. Heavy items belong on a low shelf.
Medications, Medical Devices, and Backup Power
This is the area most solo seniors overlook. Aim to keep at least a week of medications on hand, and ask your pharmacist or doctor about early refills before a storm season.
Plan for devices that need power:
- Write down each device and its battery or charging needs
- Keep spare batteries or a charged power bank nearby
- Ask your utility provider whether you qualify for priority restoration if you rely on powered medical equipment
Keeping your phone and any medical device charged before a storm arrives is a sensible precaution. Many people find that a portable power bank bridges the gap until power returns.
The article lists the core items and gives a few practical figures worth scanning at a glance.
| Item | Value | Note |
|---|---|---|
| Water | 1 gallon per person per day | Keep at least a three-day supply |
| Kit coverage | At least 3 days | Many experts suggest two weeks if possible |
| Medications | At least 1 week on hand | Ask pharmacist or doctor about early refills |
| Power bank | Charged before a storm | Bridges the gap until power returns |
| Shelf height | Low shelf for heavy items | Store where you can reach without bending |
Step 4: Plan an Evacuation Plan for Seniors with Mobility Issues
If you use a walker, wheelchair, or oxygen, your evacuation plan needs extra time and care. Plan two routes out of your home and two destinations, because roads close unexpectedly during disasters. Living alone means you also need a written ride plan and a way to move safely through your own home.
Map two accessible exits
Walk through your home and identify two ways out. At least one should not use stairs.
- Primary exit: the door you use every day. Check that the path is clear of furniture, rugs, and clutter.
- Backup exit: a second door or a ground-floor window that opens easily. Make sure the latch works and that you can reach it without climbing.
- Stair-free route: if you live in a multi-story building, identify the stair-free path and confirm whether an elevator has backup power. Do not assume an elevator will work during an outage.
Keep a flashlight, a pair of shoes, and your go-bag near each exit. Practice opening the doors and moving through the route at least twice a year.
Choose two destinations and confirm them in advance
Pick two places you can go: one nearby, such as a relative's home or a community shelter, and one farther away in case the first is affected. Call ahead to confirm the destination is accessible for your mobility needs. Ask whether the shelter has backup power for medical devices and whether it can accommodate a wheelchair or walker.
Write the address, phone number, and directions on your evacuation worksheet. Keep a copy in your go-bag and by your phone.
Arrange transportation before you need it
Many people find that the hardest part is arranging a ride. Do this now, not during a storm.
- Primary ride: ask a friend, neighbor, or relative and confirm the arrangement in writing. Agree on a pickup time and a backup time.
- Backup ride: identify a local paratransit service, senior transportation program, or non-emergency medical transport provider. Ask whether they operate during emergencies and how far in advance you must call.
- Last resort: call 911 if you cannot evacuate safely and your life is at risk. Tell the dispatcher that you live alone and have mobility limitations.
Keep your go-bag packed with medications, documents, a phone charger, and your mobility aids. Label your walker or wheelchair with your name and contact information in case you are separated from it.
Step 5: Set Up a Senior Emergency Contact List Template
A senior emergency contact list gives first responders and helpers the information they need fast. Keep it printed in several places and updated every few months.
Include these details for each contact:
- Full name and relationship to you
- Two phone numbers, one mobile and one alternate
- Whether the person has a key to your home
Your list should also include your doctor, pharmacy, medical conditions, allergies, and current medications. Store a copy in your kit, by your phone, and with a trusted neighbor.
Booking Your Emergency Kit Setup with Survive Nation
Preparing for an emergency alone can feel overwhelming, but you do not have to build everything from scratch. Survive Nation offers outdoor and emergency preparedness gear, including food storage, lighting, and sleeping supplies, so you can start with the items that matter most to you. Visit our site to review current prices and options, and reach out to our team if you want help choosing what fits your home.
Last Updated: November 1, 2026
Frequently Asked Questions
How can seniors living alone prepare for an emergency?
Start with a written plan covering who to call, where to go, and what supplies to keep. Keep at least two weeks of food, water, and medications on hand where possible, and keep a flashlight, a charged phone, and a whistle within reach. Review the plan every few months and after any change in health or living situation, so it stays accurate when you need it.
What should be in an emergency kit for an older adult?
A solid emergency kit for older adults includes a first aid kit, at least a week of prescription medications and copies of prescription lists, water, non-perishable food, a flashlight with extra batteries, a whistle, copies of important documents, and a list of emergency contacts. Add eyeglasses, hearing aid batteries, mobility aids, and any medical device supplies you depend on. Store the kit somewhere easy to reach.
Who should seniors living alone contact during a disaster?
List at least two local contacts who can check on you, plus one out-of-area contact who can relay messages if local phone lines are busy. Include family members, neighbors, your doctor, and a pharmacy. Agree in advance on a check-in schedule and confirm each contact has your address, medication needs, and any access information for your home.
How often should seniors check and update emergency supplies?
Check emergency supplies at least twice a year, and set reminders for food and water expiration dates, battery replacement, and medication refills. Update your contact list and plan whenever your health, mobility, or caregivers change. Rotating supplies on a regular schedule keeps the kit usable and avoids surprises during an actual emergency.