 blog
blog
Emergency Kit Checklist for Home: 2026 Guide
Table of Contents
- The Essential Disaster Supply List for Your Home
- How Long Should Emergency Supplies Last?
- Emergency Kit Maintenance Schedule: Keep Your Gear Ready
- How to Build Your Emergency Kit Checklist for Home on a Budget
- Climate-Specific Variations for Your Emergency Kit Checklist for Home
- Common Mistakes to Avoid When Assembling Your Home Emergency Kit
- Frequently Asked Questions
Last Updated: September 13, 2026
The Essential Disaster Supply List for Your Home
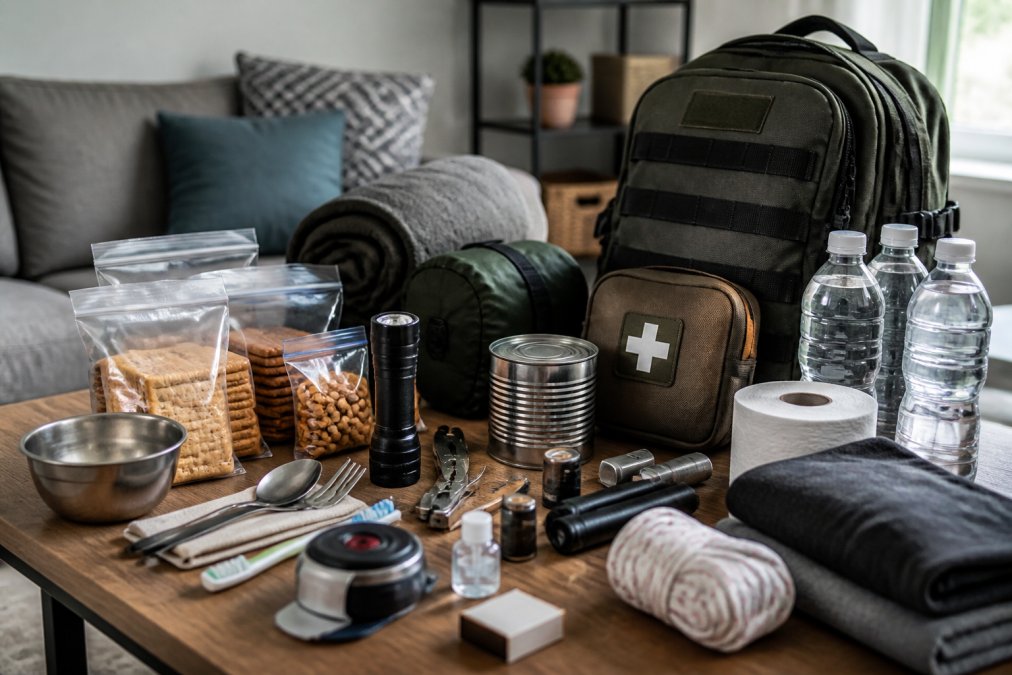
An emergency kit checklist for home is a documented set of supplies that keeps your household self-sufficient for at least three days during a power outage, natural disaster, or shelter-in-place order. The families who stay calm during a crisis are often the ones who prepared a list before they needed it. Below, we'll walk through what actually belongs in each category, how long it lasts, and how to build it without overspending.
The categories that follow cover water, food, medical supplies, communication, sanitation, and documents. Most households already own a third of what's on this list.
Water, Food, and Manual Can Openers
Water tops every disaster supply kit for a reason: a person cannot function long without it. Store one gallon per person per day, plus extra for pets, and rotate the supply every six months (ready.gov). For food, choose shelf-stable items your family already eats, and pack a manual can opener even if you own an electric one.
- One gallon of water per person, per day (three-day minimum)
- Non-perishable food: canned goods, peanut butter, protein bars, dried fruit
- Manual can opener and a spare
- Pet food and a bowl
First Aid, Medications, and Medical Supplies
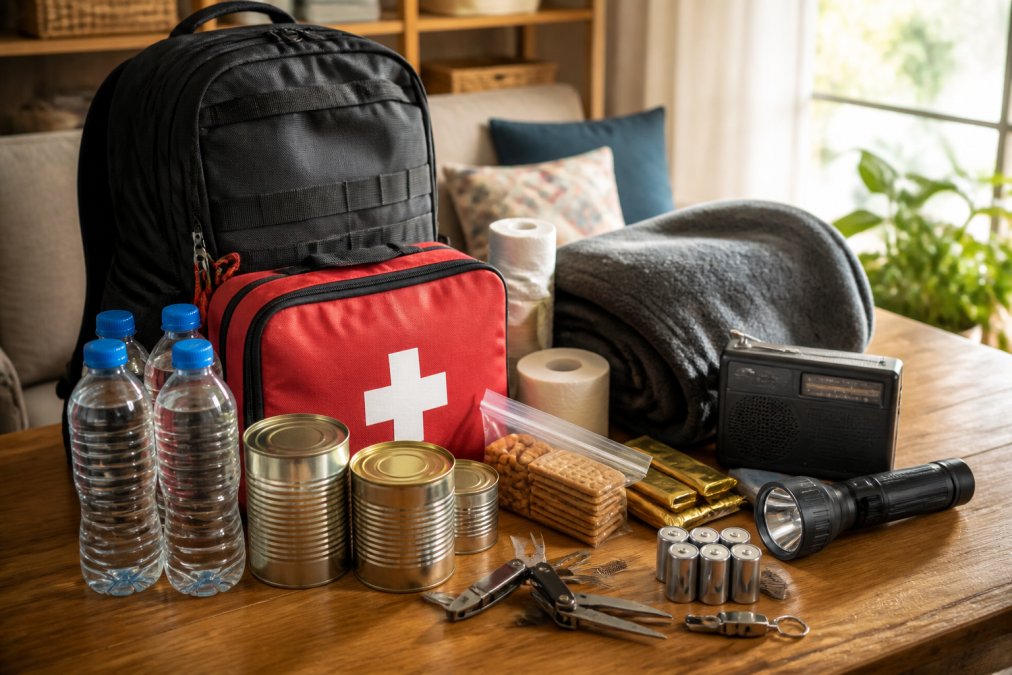
A first aid manual turns a box of supplies into something you can actually use under stress. Pack bandages, antiseptic, gauze, and any prescription medications your household relies on, plus a written list of dosages.
- Adhesive bandages, gauze, and medical tape
- Antiseptic wipes and antibiotic ointment
- Prescription medications (a seven-day supply)
- A printed first aid manual
Communication, Lighting, and Power
When the grid fails, a battery-powered radio and a hand crank model keep you informed. Add a whistle to signal for help and a multi-tool for small repairs.
- Battery-powered or hand crank radio
- Flashlights and extra batteries
- Emergency lighting for hallways
- Whistles and a multi-tool
Sanitation, Hygiene, and Tools
Sanitation supplies prevent illness when plumbing stops working. Pack personal hygiene items, moist towelettes, garbage bags, and plastic sheeting with duct tape for shelter-in-place scenarios.
- Moist towelettes and hand sanitizer
- Garbage bags and plastic sheeting
- Duct tape
- A fire extinguisher
Documents, Clothing, and Bedding
Store copies of important documents in a waterproof container, alongside a complete emergency contact list. Add a change of clothing, sturdy shoes, and a thermal blanket per person.
- Copies of IDs, insurance, and bank records
- Emergency contact list
- Sturdy shoes and a change of clothes
- Thermal blankets and sleeping bags
How Long Should Emergency Supplies Last?
Emergency supplies should last at least 72 hours, which is the minimum most preparedness guidance recommends for a household kit (ready.gov). Three days covers the typical gap between a disaster and organized relief arriving. That number is not arbitrary: it reflects the planning assumption that local responders and relief organizations need roughly three days to mobilize, set up distribution points, and reach neighborhoods after a wide-area event.
Extend that to two weeks if you live in an area prone to hurricanes, wildfires, or extended power outages. The longer your supply window, the less you'll rely on outside help, and the less you'll compete for scarce supplies at a shelter or distribution site.
The 72-Hour Minimum vs. the Two-Week Standard
Think of the 72-hour kit as your evacuation layer and the two-week supply as your shelter-in-place layer. A 72-hour kit is sized to be grabbed and carried; a two-week supply is sized to keep a household fed, hydrated, and sanitary without leaving home. Most households should build both, because the two scenarios call for different packaging and different quantities.
How Household Size Changes the Math
The three-day figure is per person, not per household. A family of four needs 12 gallons of water for the minimum window and 56 gallons for a two-week window. That is why the two-week standard is usually built with stacked cases of bottled water or a few large food-grade water containers rather than individual bottles.
Shelf Life and Storage Conditions
How long supplies actually last depends on how you store them. Heat, light, and humidity shorten shelf life faster than almost anything else.
- Bottled water: Commercially sealed water keeps far longer than the printed date suggests when stored cool and dark; rotate it every six months as a habit, not because it spoils overnight.
- Canned goods: Most low-acid canned foods (beans, tuna, vegetables) hold quality for two to five years, while high-acid items (tomatoes, citrus) degrade faster, usually 12 to 18 months (usda.gov).
- Dry staples: White rice, dry beans, and rolled oats stored in airtight containers hold for years; brown rice and whole-grain flours go rancid within months because of their oils.
- Batteries: Alkaline batteries lose charge over time even unused; store them in original packaging at room temperature and check dates annually.
- Medications: Follow the expiration date on the label, and ask a pharmacist which prescriptions can be safely stockpiled in advance.
| Supply Type | Minimum Duration | Extended Duration | Rotation Frequency |
|---|---|---|---|
| Water | 3 days | 14 days | Every 6 months |
| Non-perishable food | 3 days | 14 days | Every 12 months |
| Prescription medications | 7 days | 30 days | Per expiration date |
| Batteries | 3 days | 14 days | Every 12 months |
| Canned low-acid food | 3 days | 14 days | Every 24-60 months |
| Dry staples (rice, beans) | 3 days | 14 days | Every 24-36 months |
A Simple Rule for Sizing Your Kit
Multiply your household size by three to get your minimum daily units (gallons of water, meals, and so on), then multiply that by the number of days you're planning for. If you have pets, add their food and water on top, they are not covered by the per-person figure. Write the final number on the lid of your storage bin so you can see at a glance whether the kit is still complete.
Emergency Kit Maintenance Schedule: Keep Your Gear Ready
An emergency kit maintenance schedule is a recurring plan for checking, rotating, and replacing supplies before they expire or fail. Without one, even a well-built kit quietly becomes useless. Most guides stop at "check it twice a year", this section gives you the actual calendar, the rotation mechanism, and a tracking method so nothing slips.
The Two-Tier Check: Light Check and Full Audit
Set two calendar reminders: a light check every six months and a full audit once a year. During the light check, swap water, test flashlights, and confirm battery rotation. During the full audit, replace expired food, medications, and any gear that failed inspection.
A Month-by-Month Rotation Calendar
Use this as a starting point and shift the months to match your household's schedule. The point is consistency, not the specific month.
- January (full audit): Pull every item out, check expiration dates, test every flashlight and radio, inspect the first aid kit for missing or expired supplies, and update document copies.
- March: Rotate water. Empty, clean, and refill containers, or swap out bottled water cases.
- June (light check): Test flashlights and radios, check battery dates, confirm the manual can opener still works, and verify medications are within date.
- September: Rotate water again. Check seasonal gear, add cold-weather layers if winter is coming, or dust masks if you're in a wildfire region.
- December: Review the full inventory against your checklist, replace anything used during the year, and restock food you rotated into everyday meals.
The Rotation Mechanism: Eat What You Store
The easiest way to keep food current is to store what you already eat and eat what you store. Buy an extra of a shelf-stable item you use regularly, put it in the kit, and when you cook with that item, pull the oldest one from the kit and replace it with a new one. This "first in, first out" habit means food never sits long enough to expire, and you never have to throw away a full kit's worth of groceries.
Tracking What You Replaced
A simple index card taped inside the lid of your storage bin works better than a spreadsheet you'll forget to open. Write the date and what you swapped on the card each time you touch the kit. When you do the full audit, the card tells you instantly what's been rotated and what's been sitting untouched.
- Every 6 months: Rotate water, test flashlights, check battery dates
- Every 12 months: Replace food, review medications, inspect tools
- Every 24 months: Replace thermal blankets and worn clothing
- Every 5 years: Review the entire kit against current household needs (new baby, new pet, new medical condition)
How to Build Your Emergency Kit Checklist for Home on a Budget
Building a home emergency kit on a budget means phasing it across a few months rather than buying everything at once. Most households can complete a solid kit in three phases without a large upfront cost.
Start with water and food, since those are the cheapest and most critical. Add first aid and lighting next. Finish with sanitation, tools, and documents. Buying one category per pay period keeps the total manageable.
- Phase 1 (month one): Water, non-perishable food, manual can opener
- Phase 2 (month two): First aid supplies, medications, flashlights, batteries
- Phase 3 (month three): Sanitation items, tools, documents, clothing
Spreading purchases this way can allow you to acquire better gear in each category instead of cheaper versions of everything.
Climate-Specific Variations for Your Emergency Kit Checklist for Home
Climate changes what belongs in your kit. A household in a hurricane zone needs different supplies than one facing winter storms or wildfires.
In hurricane and flood regions, add waterproof containers, extra plastic sheeting, and a hand crank radio for when power stays out for days. In cold climates, pack thermal blankets, insulated clothing, and a way to stay warm without electricity. In wildfire areas, include dust masks to filter smoke and a go-bag you can grab in minutes.
- Hurricane/flood: Waterproof containers, extra sheeting, hand crank radio
- Cold climate: Thermal blankets, insulated layers, backup heat source
- Wildfire: Dust masks, go-bag, evacuation documents ready
Common Mistakes to Avoid When Assembling Your Home Emergency Kit
The biggest mistake is treating the kit as a one-time purchase. Supplies expire, batteries die, and gear gets borrowed and never returned.
A common mistake is packing food your family won't actually eat. If nobody touches canned sardines on a normal day, nobody will eat them during a crisis. Stock shelf-stable items you already enjoy.
Another frequent error is forgetting the manual can opener. An electric opener is useless during a power outage, and a manual can opener costs almost nothing.
Finally, don't skip the emergency plan itself. A kit without a family communication plan and evacuation route leaves you supplied but uncoordinated.
Most households know they should have a kit, but few actually finish one. The gap isn't knowledge; it's follow-through. Survive Nation stocks the reliable gear this checklist calls for, from sleeping bags and food storage to outdoor lighting, all at prices that make phased building realistic. Our fast, user-friendly shopping experience and customer-service-first approach mean you can get what you need without guesswork. Get started with Survive Nation and build a home emergency kit your family can depend on.
Frequently Asked Questions
What are the 10 most essential items for a home emergency kit?
Water (one gallon per person per day), non-perishable food, a manual can opener, a battery-powered or hand-crank radio, a flashlight, a first aid kit with a first aid manual, prescription medications, a multi-tool, a whistle, and dust masks. Add plastic sheeting and duct tape for shelter-in-place. Store these in a waterproof container and check expiration dates twice a year.
How long should my home emergency supplies last?
Aim for at least three days of supplies for evacuation and two weeks for shelter-in-place. FEMA recommends a two-week supply of food and water per person. Rotate food and water every six months. Batteries last one to two years depending on brand; test them quarterly. Replace expired medications and first aid items promptly.
How do I maintain and rotate items in my home emergency kit?
Set a maintenance schedule: every six months, replace expired food, water, and medications. Every year, test flashlights and radios, replace batteries, and update emergency contact lists and documents. Check the kit for damaged items. Store it in a cool, dry place. Use a checklist to track expiration dates and keep a log.
Are there specific items needed for pets in an emergency kit?
Yes. Include three days of pet food and water, a pet first aid kit, medications, a leash, a carrier, and waste bags. Keep a copy of vaccination records in a waterproof container. Add a recent photo of your pet in case you get separated. If you evacuate, take your pets with you; many shelters do not accept animals unless they are service animals.